Gifting on Christmas is a tradition that has been going on for centuries now. Both brick-and-mortars and online retailers make the most of this opportunity to increase their sales. About 1000 online retailers in the US increased their sales by 4.8% in 2023 through effective holiday marketing strategies.
The total value of holiday online sales reached $221.1 billion in 2023. However, not everyone can buy expensive gifts on Christmas, and it’s okay. If you’re on a stringent budget this year, our DIY holiday gift ideas can help keep the tradition without going broke.
Affordability is indeed a key factor in opting for DIY (Do-it-Yourself) gifts. However, another reason why homemade, handcrafted gifts are popular is the level of personalization they offer. You can consider individual likes and preferences to add a personal touch to the gift item, making it a thoughtful and memorable token of love.
Last-minute gift shopping can be a hazardous thing for most people. When the sales end, and the stocks run out, DIY gifts can be your only option. Let’s now give you some idea regarding the type of DIY holiday gifts you can create for your family, friends, and loved ones.
Types of DIY Holiday Gifts for Everyone on Your List
While you can make anything for your close ones, and they’ll probably love it, some planning is essential. Considering who the receiver is, you can create personalized, as well as useful gifts. For example, you can give a personalized Christmas ornament to your best friend, but you cannot give it to your employer, or your host. So we have categorized all DIY gift ideas for this season based on the recipient.
Informal DIY gifts for your family and close friends
Your informal connections, like your family, friends, and close relatives, need something warm and lovely to show them how you feel. Put all your love and best wishes in the gifts you make for them. Don’t forget to add a personal note to each gift to maximize its impact.
Here are a few ideas of what you can do:
Candle Holders

It’s one of the simplest and easy-made DIY holiday gifts one can think of. All you need are a few symmetrical glass jars, glass paint, adhesives, and other decorators, like gold leaves, metal wires, sparkling stars, etc.


Source : Pinterest
How to do:
- Clean the glass jars and dry them out completely
- Start painting them with high-quality glass paint. You may also skip the painting job (if you’re not confident) and use gold sheets, leaves, stars and sprinklers to decorate the glasses
- Use industry adhesives to stick the leaves or other decorators on the surface of the glass jars
- Smoothen the gold leaves, or other paper decorators on the surface to remove creases, if any
- Keep the jars away for about 30 minutes to dry out the adhesive
- Now you can use some other decorating items, like metal wires, glowing stickers, etc. to make the jars stand out
- Last but not the least, put some scented candles inside the jars to complete the effect
DIY Christmas Treats

No sweets, No Christmas!
If you didn’t get the time to shop for candies, or maybe missed it out due to personal reasons, no worries! You can make those special Christmas treats at home, EASILY.
Here are some mouthwatering treats you can prepare at home:
Peanut Butter Snowballs – Take a break from the typical milk chocolates and use this healthy ingredient to create the perfect Christmas dessert. Pack them up in a nice tin and add a personal note on the top to enhance the effect.
Christmas Caramels – If you can make this successfully, everyone will be fighting over the box for sure. Use a wax paper to pack the treats carefully before putting them inside a decorative box.
Chocolate Pretzels – Bake these at home for your guests and also deliver a box to your loved ones to make them go crazy with joy. There are several recipes to make this treat. You can also improvise according to individual preferences, as it gives ample scope to personalize.
Rum Balls – The special Christmas rum balls are a well-loved treat for the adults. All you need are Vanilla wafers, confectioners’ sugar, corn syrup, and a little bit of rum. The total time taken to prepare the dessert is about 30-45 minutes.
Chocolate Macarons – With almond flour, vanilla extract, sugar and butter, you can create this absolute Christmas delight at home easily. It’ll probably take you about 2 hours to finish. Pack the sweets up nicely and deliver to your loved ones.
Chocolate-coconut candies – Coconut candies are a favorite of many. Cover them with chocolate to take the flavor a level up. The best thing about this dessert is the limitless choice for toppings and sprinklers. Decorate freely, according to your wishes and whims.
Potted Greens


Source : Pinterest
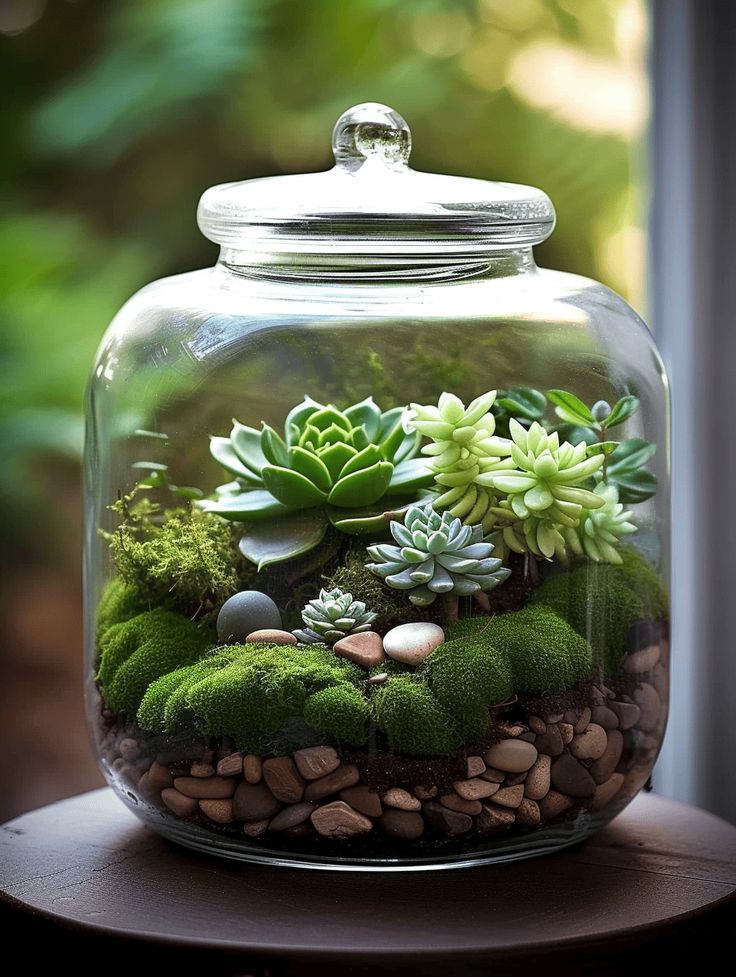
If the recipient is a plant lover, this will the perfect gift of the season. While you may not be an expert of greens, but succulents can save your day. They don’t require too much care but look amazing all the same. Your loved ones will, undoubtedly, be overjoyed at the pretty green display for their living room or study table.
How to do:
- Get a large glass bowl from the nearby store (or buy it online)
- You can be a little creative by painting the bowl artistically, or you may skip that part
- Fill 3/4ths of the bowl with highly-drained soil (or sand, depending on the succulents)
- Place some moss, Cacti, Jade, and other succulents inside the bowl carefully
- Put some stones inside the bowl to keep the plants erect and also add to the overall visual appeal
- Cover the bowl carefully with plastic and deliver it to your loved ones
DIY Rope Basket

No, you don’t have to sew the basket. That’ll take a lot of time. Just buy a regular steel bucket from the nearby store and decorate it according to the holiday theme. You’ll also need white or multicolored cotton piping cord, and artificial leather straps to make the handles of the basket. Make sure that you get a galvanized steel bucket to increase the item’s longevity.
How to do:
- Using a glue gun, or an industry adhesive, stick the cotton piping cords to the sides of the metal basket
- Stick the piping cords together in a spiral manner to cover the base of the bucket
- Keep wrapping and gluing the cords alongside the bucket to cover its surface completely
- Use a leather punch to make holes at the ends of the 10-inch leather straps
- Place rivets inside the holes and strap the handles to the basket using a hammer
- Secure the rivet further by applying more glue
Once the basket is ready, put some Christmas goodies and fruits inside it before packing it beautifully. In a personal note, don’t forget to mention that the basket isn’t meant for carrying heavy items, but is a decorative piece to keep some lightweight household items.
Kids’ Christmas Decorating Kit
Source : Etsy
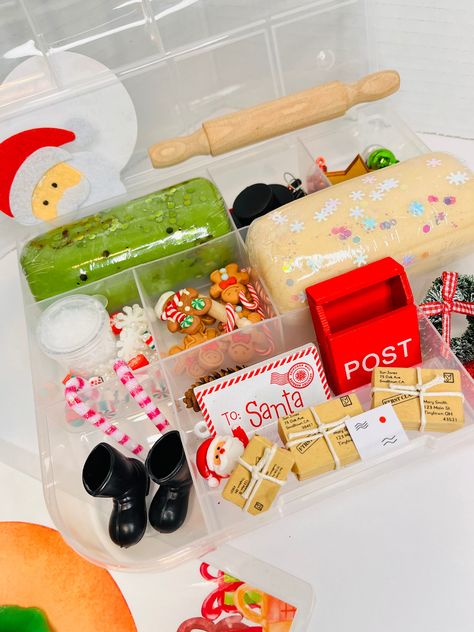
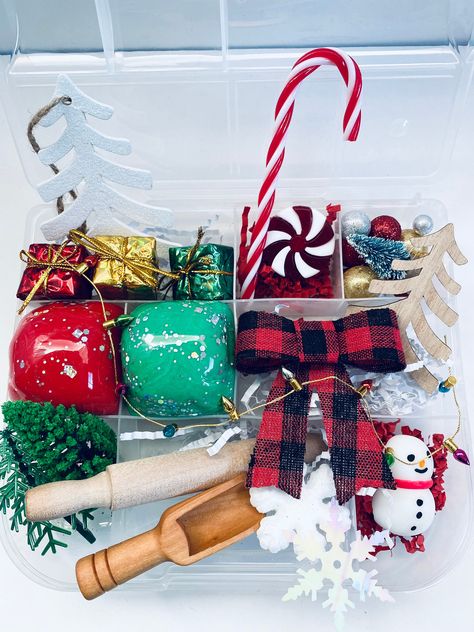
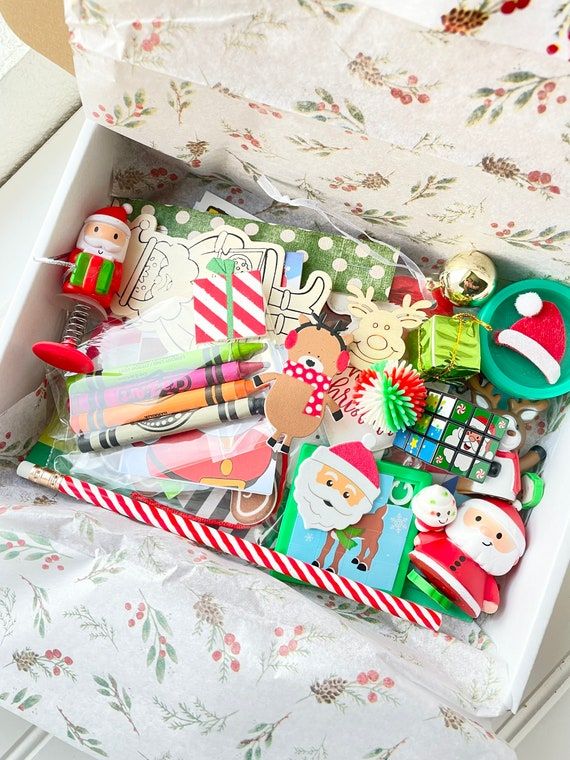
Of course, no one has forgotten the real joyful faces of Christmas – The children. They are the real joys in the festive season, their innocence melting everything negative on the planet. So what can you make for them besides homemade holiday treats? A kids’ Christmas Tree decorating kit can be great idea! You can utilize the ongoing Black Friday and Cyber Monday holiday sales to buy the items in the kit.
How to do:
It’s probably the easiest gift to make.
- Buy different types of cute Christmas ornaments, like Christmas tree balls, starts, ribbons (neatly wrapped), glitters, decorative lights, pom-poms, stickers, glitter glue, and Washi tape
- Organize them in a transparent plastic box properly, so that each item is visible from the top
- Print a cute label with their names and stick it on the side of the box
- Decorate the kit further according to your preferences
- Tie a ribbon on the box and pack it for delivery
Decorative Wooden Utensils


Source : Pinterest
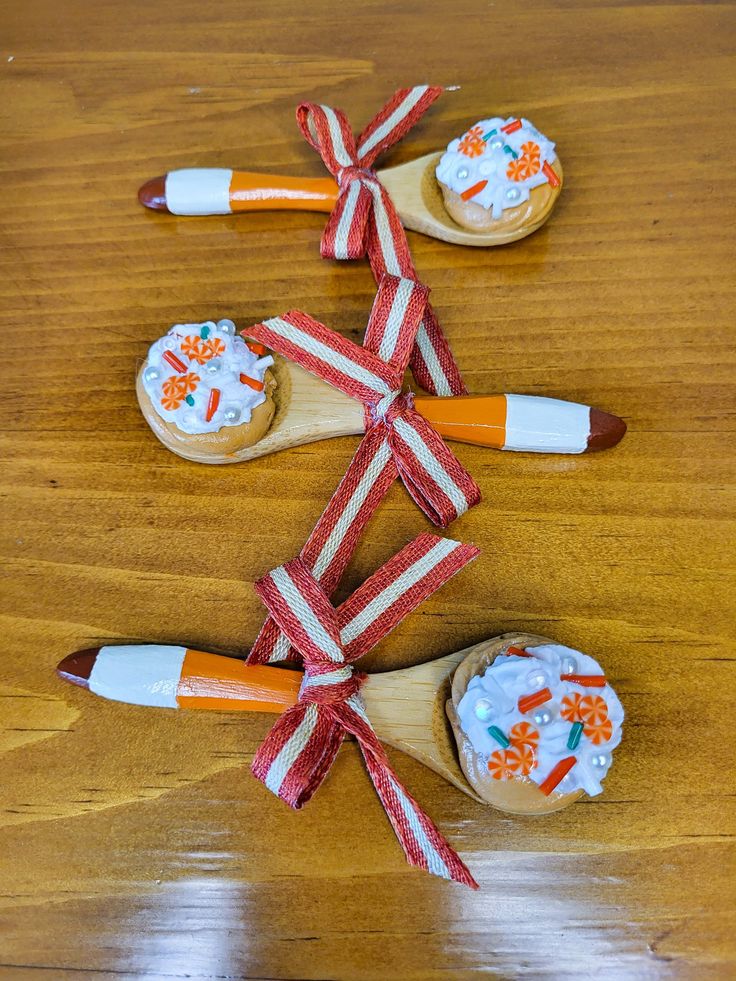
It can be a beautiful addition to someone’s kitchen. Incredibly easy to make, these fabric-coated wooden utensils will be a reason of delight for anyone. All you need are a set of wooden utensils, like spoons, beach spoons, spatulas, jar scrapers, etc., of varying sizes, some printed scrap fabric, a good sealant, and a foam brush.
How to do:
- Cut the fabric in the same dimensions
- Apply the sealer to the back side of the fabric
- Wrap each fabric piece around each spoon carefully and tightly, so that there is no air bubble in between
- Let the glue dry for about 15 minutes
- Apply the second coat of sealant on the fabric and keep it to dry for another 10 minutes
- Lastly, add the third and final coat on the fabric to make it water-resistant
- Keep the finished items away from water for 24 hours
Formal DIY Gifts for Coworkers and Teachers
So you’re planning to give your coworkers some cute gifts this Christmas? You can easily make something at home, like a memento, or a token of appreciation for their assistance. Also, if your kids are planning to give something to their teachers on Christmas, you can make it for them.
While crafting DIY gifts for your coworkers, or teachers, you should keep in mind that it shouldn’t look cheap or too informal. Maintaining some dignity will definitely be appreciated.
Here are a few ideas that can help create the perfect gift for coworkers:
DIY Essence Jars
Source : Pinterest
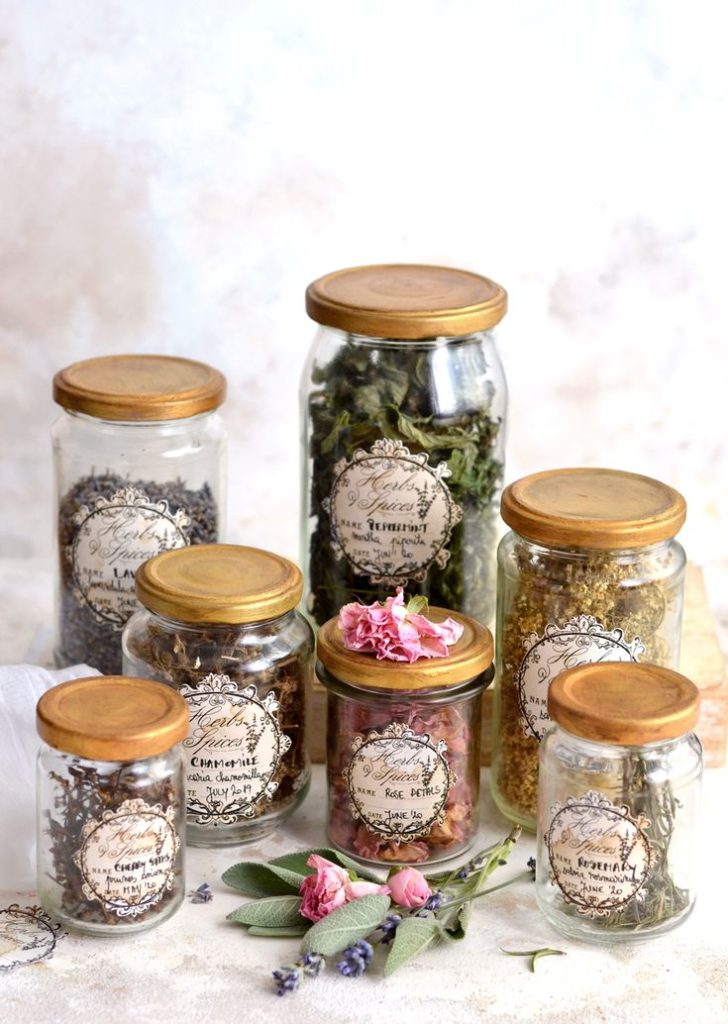
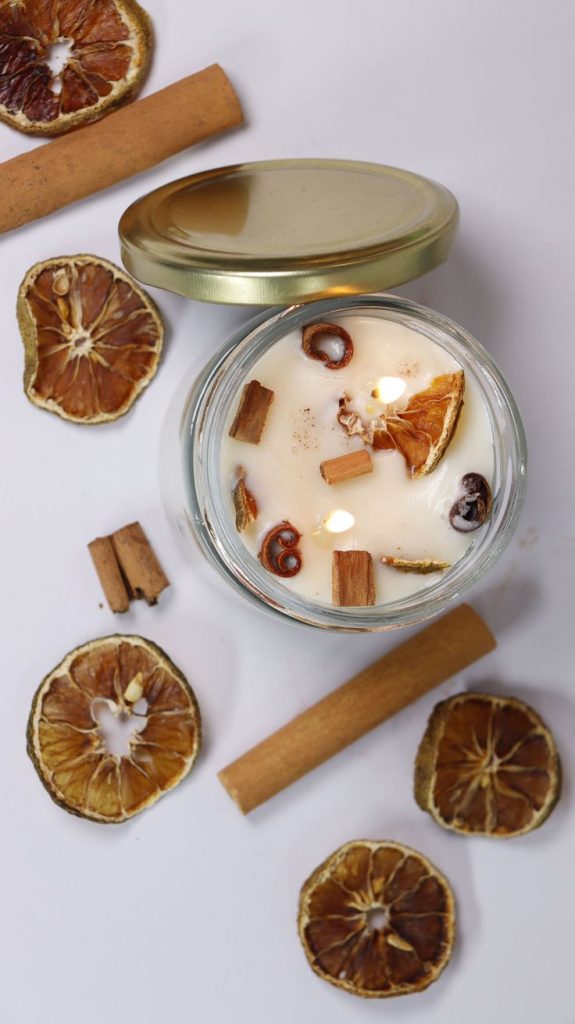
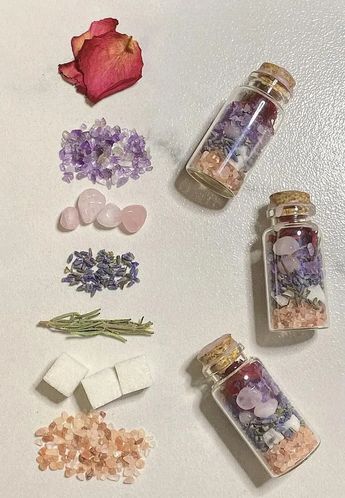
A positive essence can enliven moods, and make all negative aura go away. You can create such an essence jar with some simple home ingredients. All you need a cute-looking mason jar, homemade spices, like cinnamon sticks, whole cloves, slices of dried citrus, rosemary twig, and a pretty ribbon.
How to do:
- Clean and dry the mason jar thoroughly
- Place the cinnamon sticks, dried citrus, cloves and anything else you wish inside the jar and tighten the lid
- Tie the ribbon around the jar and tuck the rosemary twig under it
- Pack the jar beautifully and add some personal touch with a handwritten note
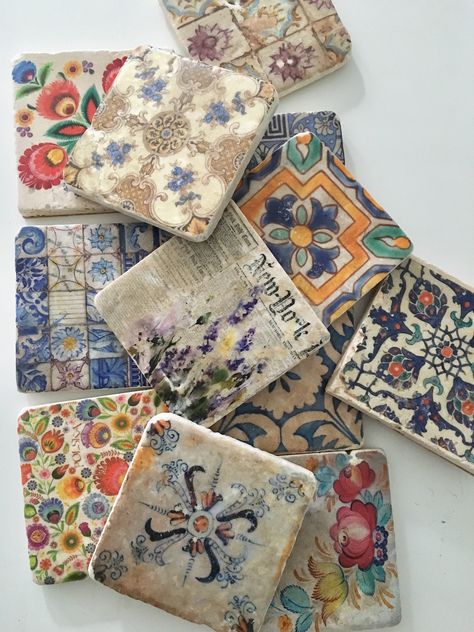
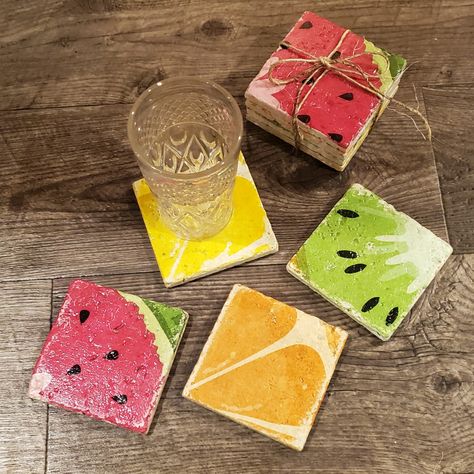
Motivational Mod Podge Coasters

Source : Etsy
Who doesn’t like to start their day with an inspiring quote and a cup of coffee?
The DIY Mod Podge motivation coasters are easily made, using porcelain tiles, scrapbook paper, Mod Podge (of course), and a foam brush
How to do:
- Select the paper you would like to use as the background for the quotes and cut them in the size of the tiles.
- Cover the entire top surface of the tile with Mod Podge and place the paper on it, carefully removing all trapped air bubbles.
- Apply another coat of the sealant on the paper and leave it to dry.
- Now cut out the quotes in the shapes you want.
- Apply another coat of sealant (Mod Podge) on the tile and place the quote carefully on it, removing air bubbles with gentle pressing. Repeat the process for all the tiles.
- Now apply the last coat of Mod Podge on the quote paper and let it dry
Applying multiple layers of sealant will make the coasters completely water resistant, thus increasing their longevity.
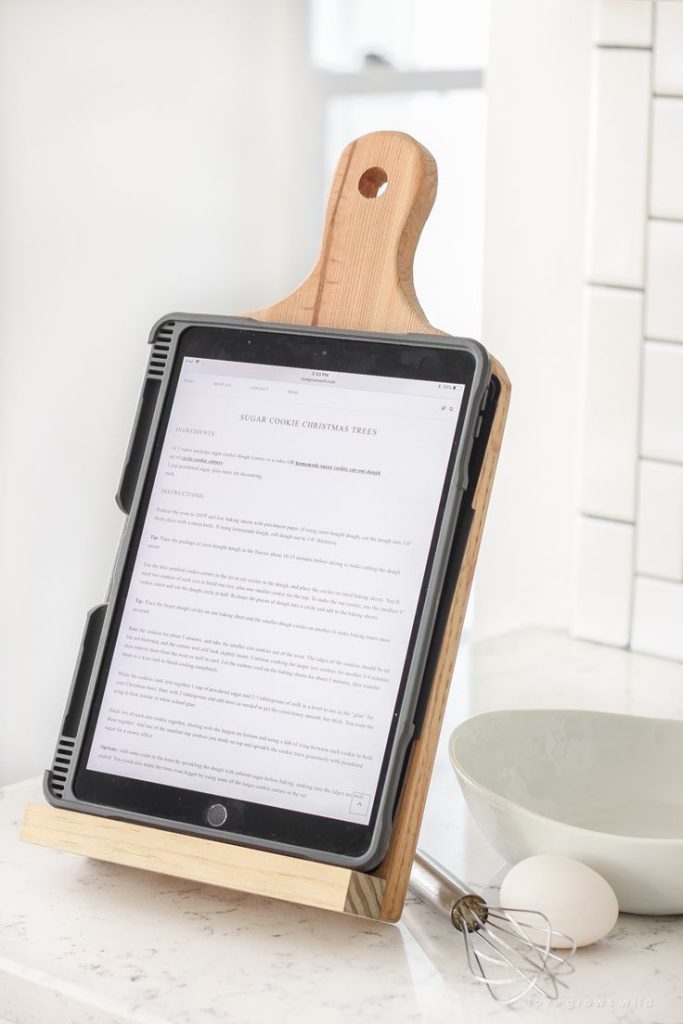
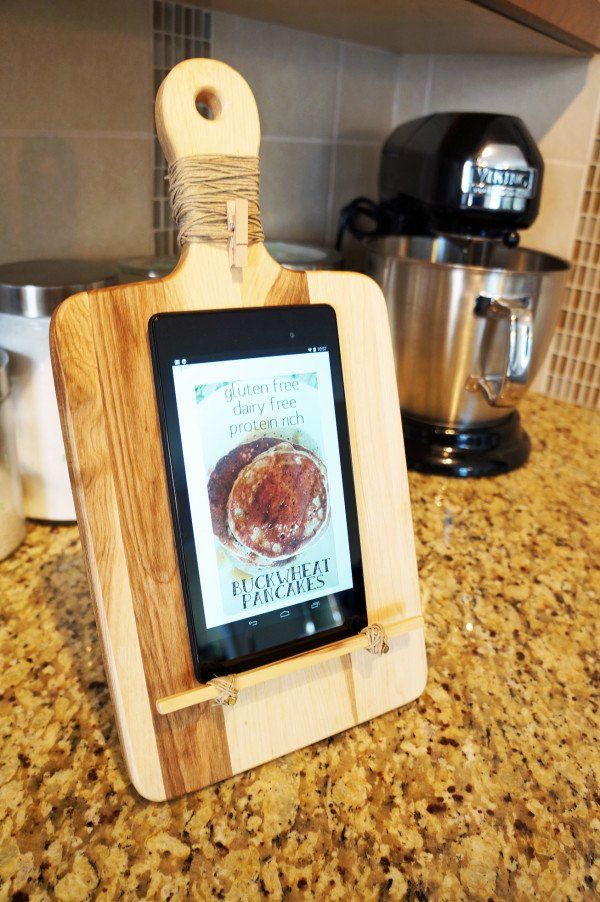
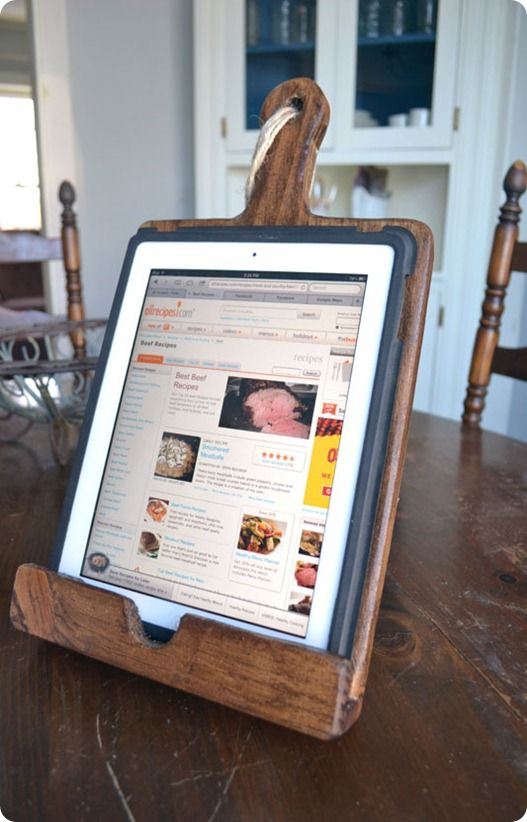
DIY Tab/iPad Holders for Kitchen
Source : Pinterest
It becomes essential for people, who love to cook, to check recipes every now and then to prevent missing out on anything. Taking your smartphone inside the kitchen isn’t feasible for everyone. You may risk staining or damping it. Some people try to haul the laptop or tab or even place it carefully on the shelf. But these tricks aren’t risk-free either.
The smart DIY iPad holder can offer a solution to this problem. All you need is a simple cutting board of wood. Make sure that it’s larger than the device it’ll hold. You’ll also need a few scrabble game piece holders and some wood stains. Lastly, you’ll need a triangular piece of wood as a stand.
How to do:
- Take the triangular piece of wood and glue it to the back of the board to serve as a stand. Adjust the angle according to your preferences.
- Now, stain the game piece holder in wood color and stick it to the bottom of the front side of the board. Let the both dry for at least 20 minutes.
- Place your tab on the game piece holder and see if it’s able to take the weight of the device. If all seems well, you can pack the gift and deliver it with a personal note.
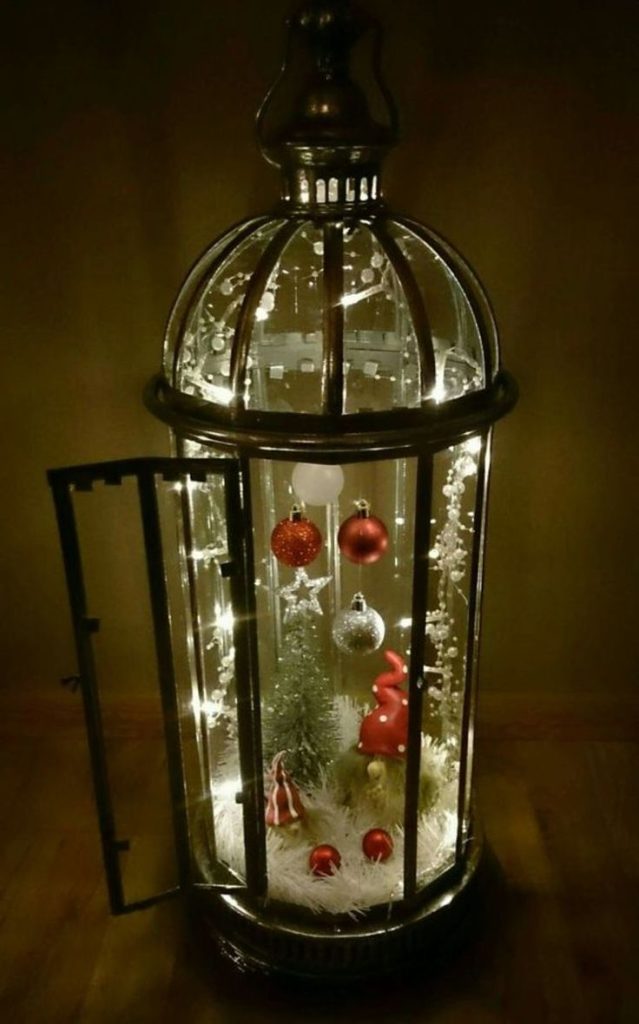
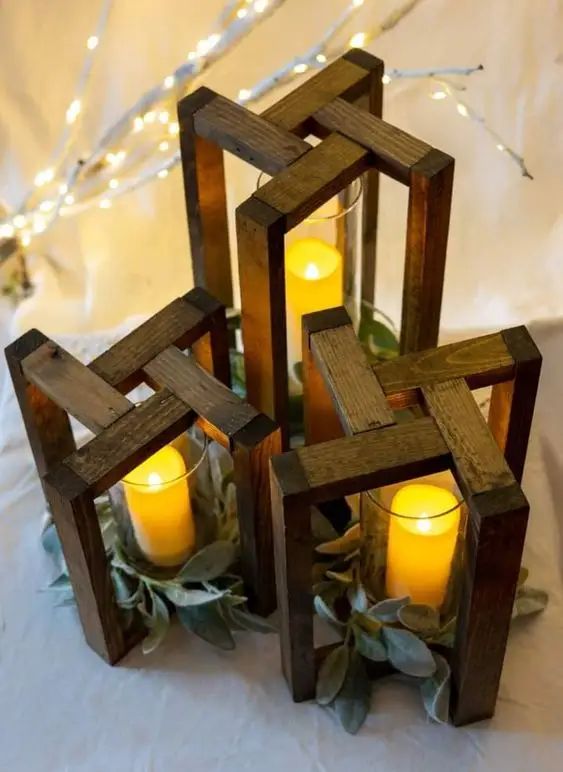
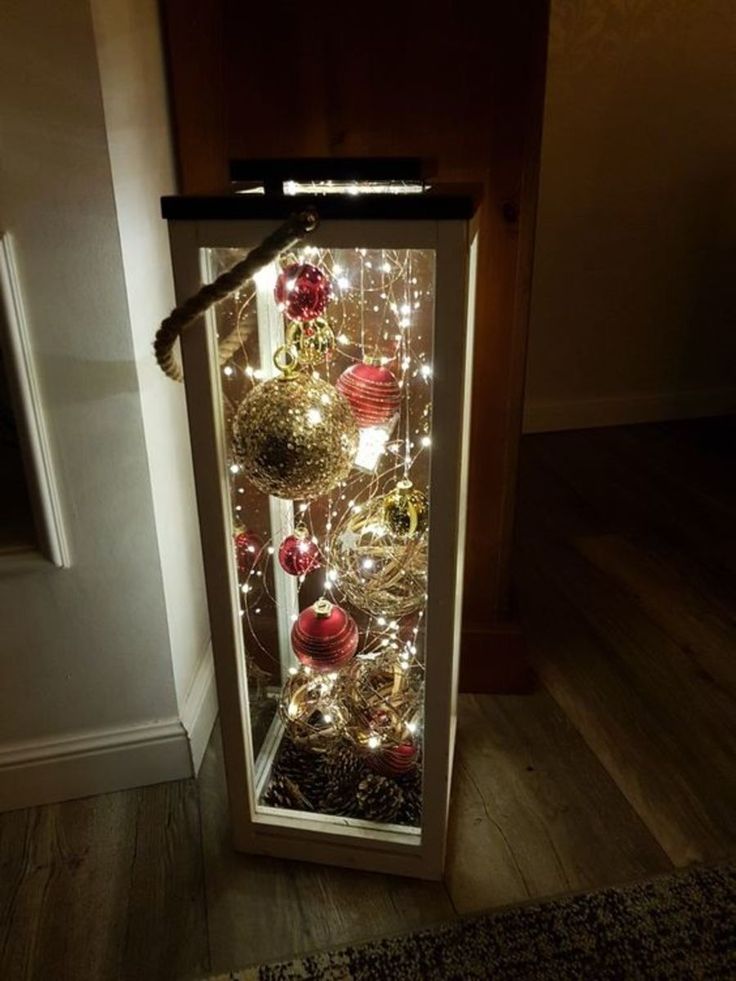
DIY Holiday Lanterns
Source : Pinterest
Magical lanterns are one of the most beautiful holiday gifts you can give to your coworkers, your kids’ teachers, or someone else. Instead of buying a ready-made lantern, you can always add a personal touch by decorating it according to the holiday theme. Get an empty metal and glass lantern from an online store and decorate it, following the suggestions below:
How to do:
- Use a spray paint of your choice to paint the metal lantern fresh. You can use copper, gold, silver, or any other shade, but make sure it looks majestic and Christmas-ready.
- Let the paint dry completely. Keep the lantern away in a place, where no one can touch it.
- Once the paint dries, place a battery-operated candle inside the lantern.
- Take an artificial garland of fall leaves and place it around the candle to create a gorgeous, natural effect.
- Now, place some Christmas balls inside the lantern to add a tinge of color.
- Take a velvet ribbon and tie it t the top of the lantern for additional impact
- Check the battery-operated candle by lighting it.
Doesn’t it look simply awesome? Pack it up quickly but carefully.
DIY tote bags

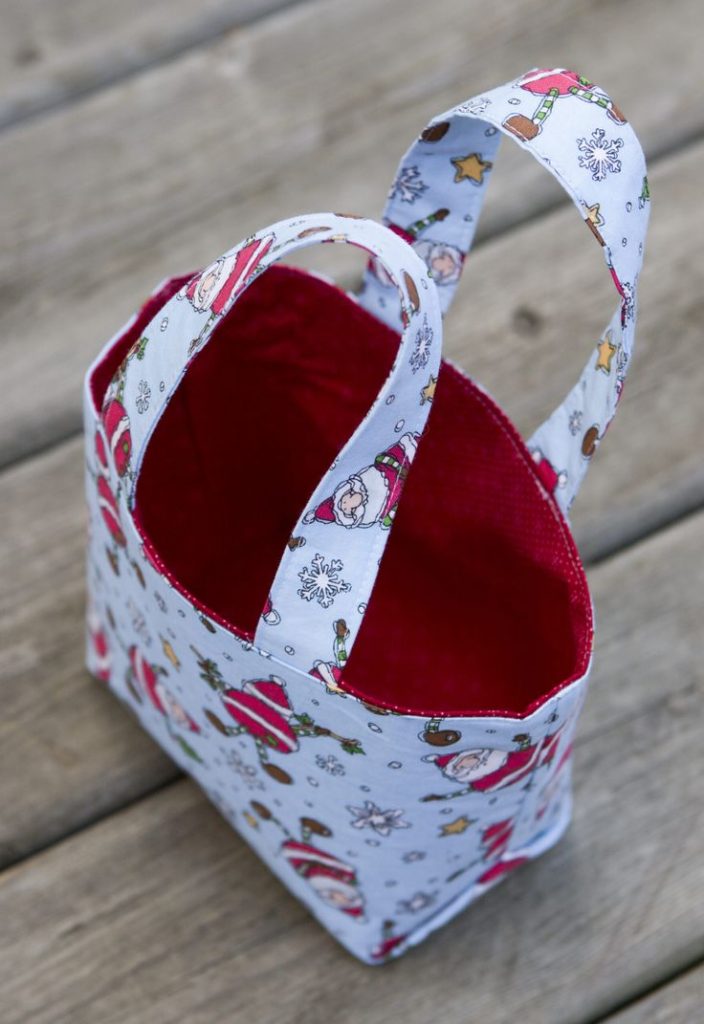
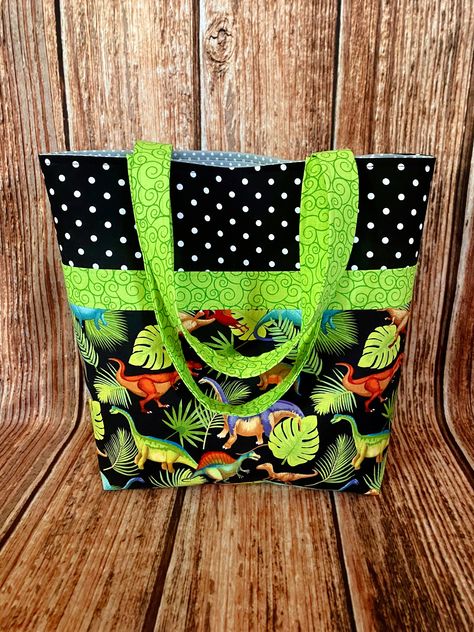
Source : Etsy
If you’re into sewing, you can make this one quite easily for a coworker, or a teacher. Add a personal touch to the item by using cute prints, funny quotes, or lovely landscape images. Use your imagination to sew different pieces of fabrics together for a long-lasting effect. All you need are some pieces of cotton fabric, canvas straps, scissors, and a sewing machine (well or course).
How to do:
- Cut a few rectangles from two different fabric pieces for the outer and inner linings
- Cut the canvas straps in equal lengths
- Cut off a 2X2 square from the bottom corners of the rectangle to form the base
- Sew the interface along all the sides of the fabric rectangles, except the two snipped corners at the bottom
- Now pinch the snipped corners at the bottom and sew them up to create a flat and broad base for the tote bag
- Pin the inner lining fabric together and repeat the steps mentioned above
- Now, flip the bag to the inner side and stitch the canvas straps between the two layers
- Sew the opening of the bag carefully, leaving enough space for turning it around
- Now turn the bag around and press it thoroughly to create a fresh look
If you want to do it your way, remember, you’re the stitch master; just do it! The end product should seem classy enough to become a formal/semi-formal gift.
Engraved coffee mugs



Source : Etsy
A pair of coffee mugs can be a good holiday gift idea, but why not spice it up a little with some personalized engravings?
You’ll need an engraving pen for that, along with a permanent marker, and a nail polish remover. Oh yes! Do not forget to get a pair of plain copper mugs to form the base of your artistic endeavor. If you’re doing it for the first time, it’s best if you get an old copper mug to practice on first.
How to do:
- Practice engraving on the old mug first, marking it later with the permanent marker.
- When you seem confident, take the new mug and make a beautiful engraving on it. The key is to use 2-3 words maximum to prevent causing a cluttered appearance.
- Mark the engraving with the permanent marker and set it aside for some time.
- Take a tissue and pour some nail polish remover on it.
- Now remove the mark from the engraving by brushing it with the tissue.
- Repeat the process for a few more times to get rid of the mark completely.
Do it for the other mug and then pack the pair inside a cardboard box and wrap it up in gift paper. Add a personal note to create further impact.
Over to You
Many people love to receive DIY gifts on holidays, as those seem to speak to the receiver personally. Let’s explain. You’ll, most likely, customize gifts based on the receiver’s choice and preferences, right? Hence it adds some personal touch to the gift item, making it more special.
Our DIY holiday gift ideas may already have opened some doors of imaginations for you. So go out and about with your creativity and make some memorable DIY gifts for your loved ones this holiday season. Let them know how special they are to you!